Mini Gingerbread Houses
I love gingerbread houses and so I've made many of them over the years, but they have their shortcomings. In order for the house not to collapse, its structural components need to be stiff—too stiff to enjoy eating. And because of the excessive candy and frosting, the most well-decorated houses always end up being the most sickly sweet.
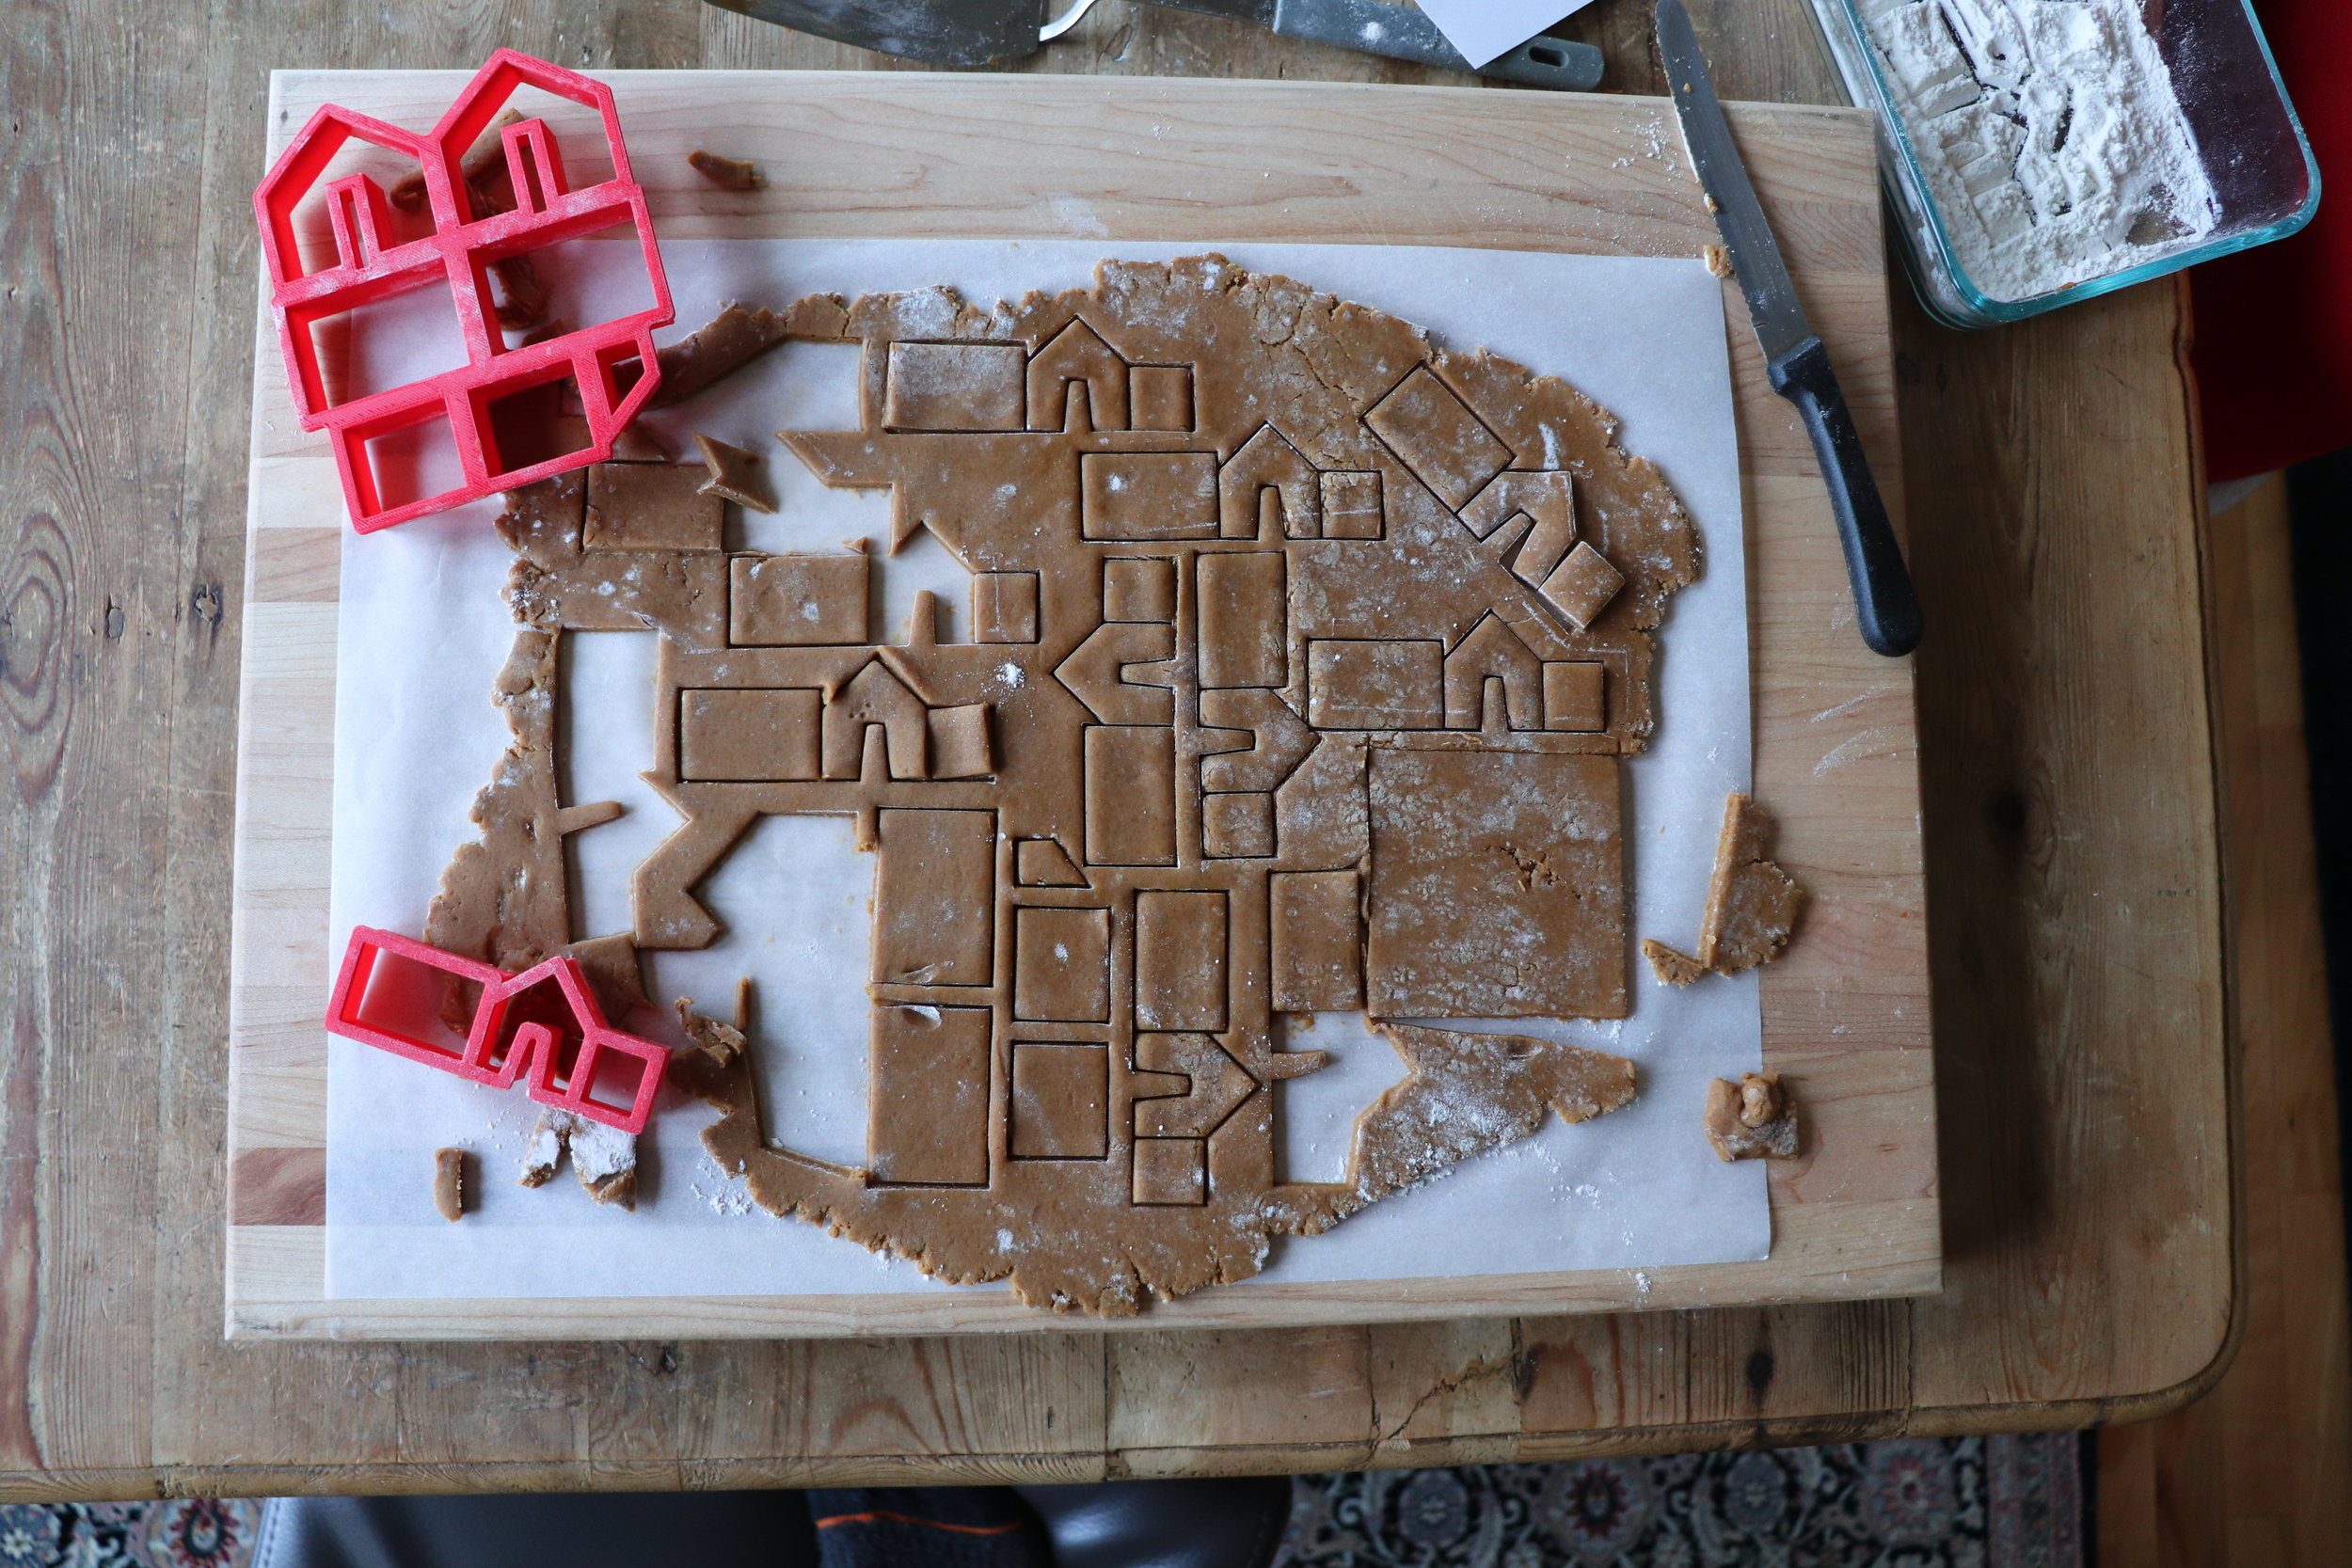
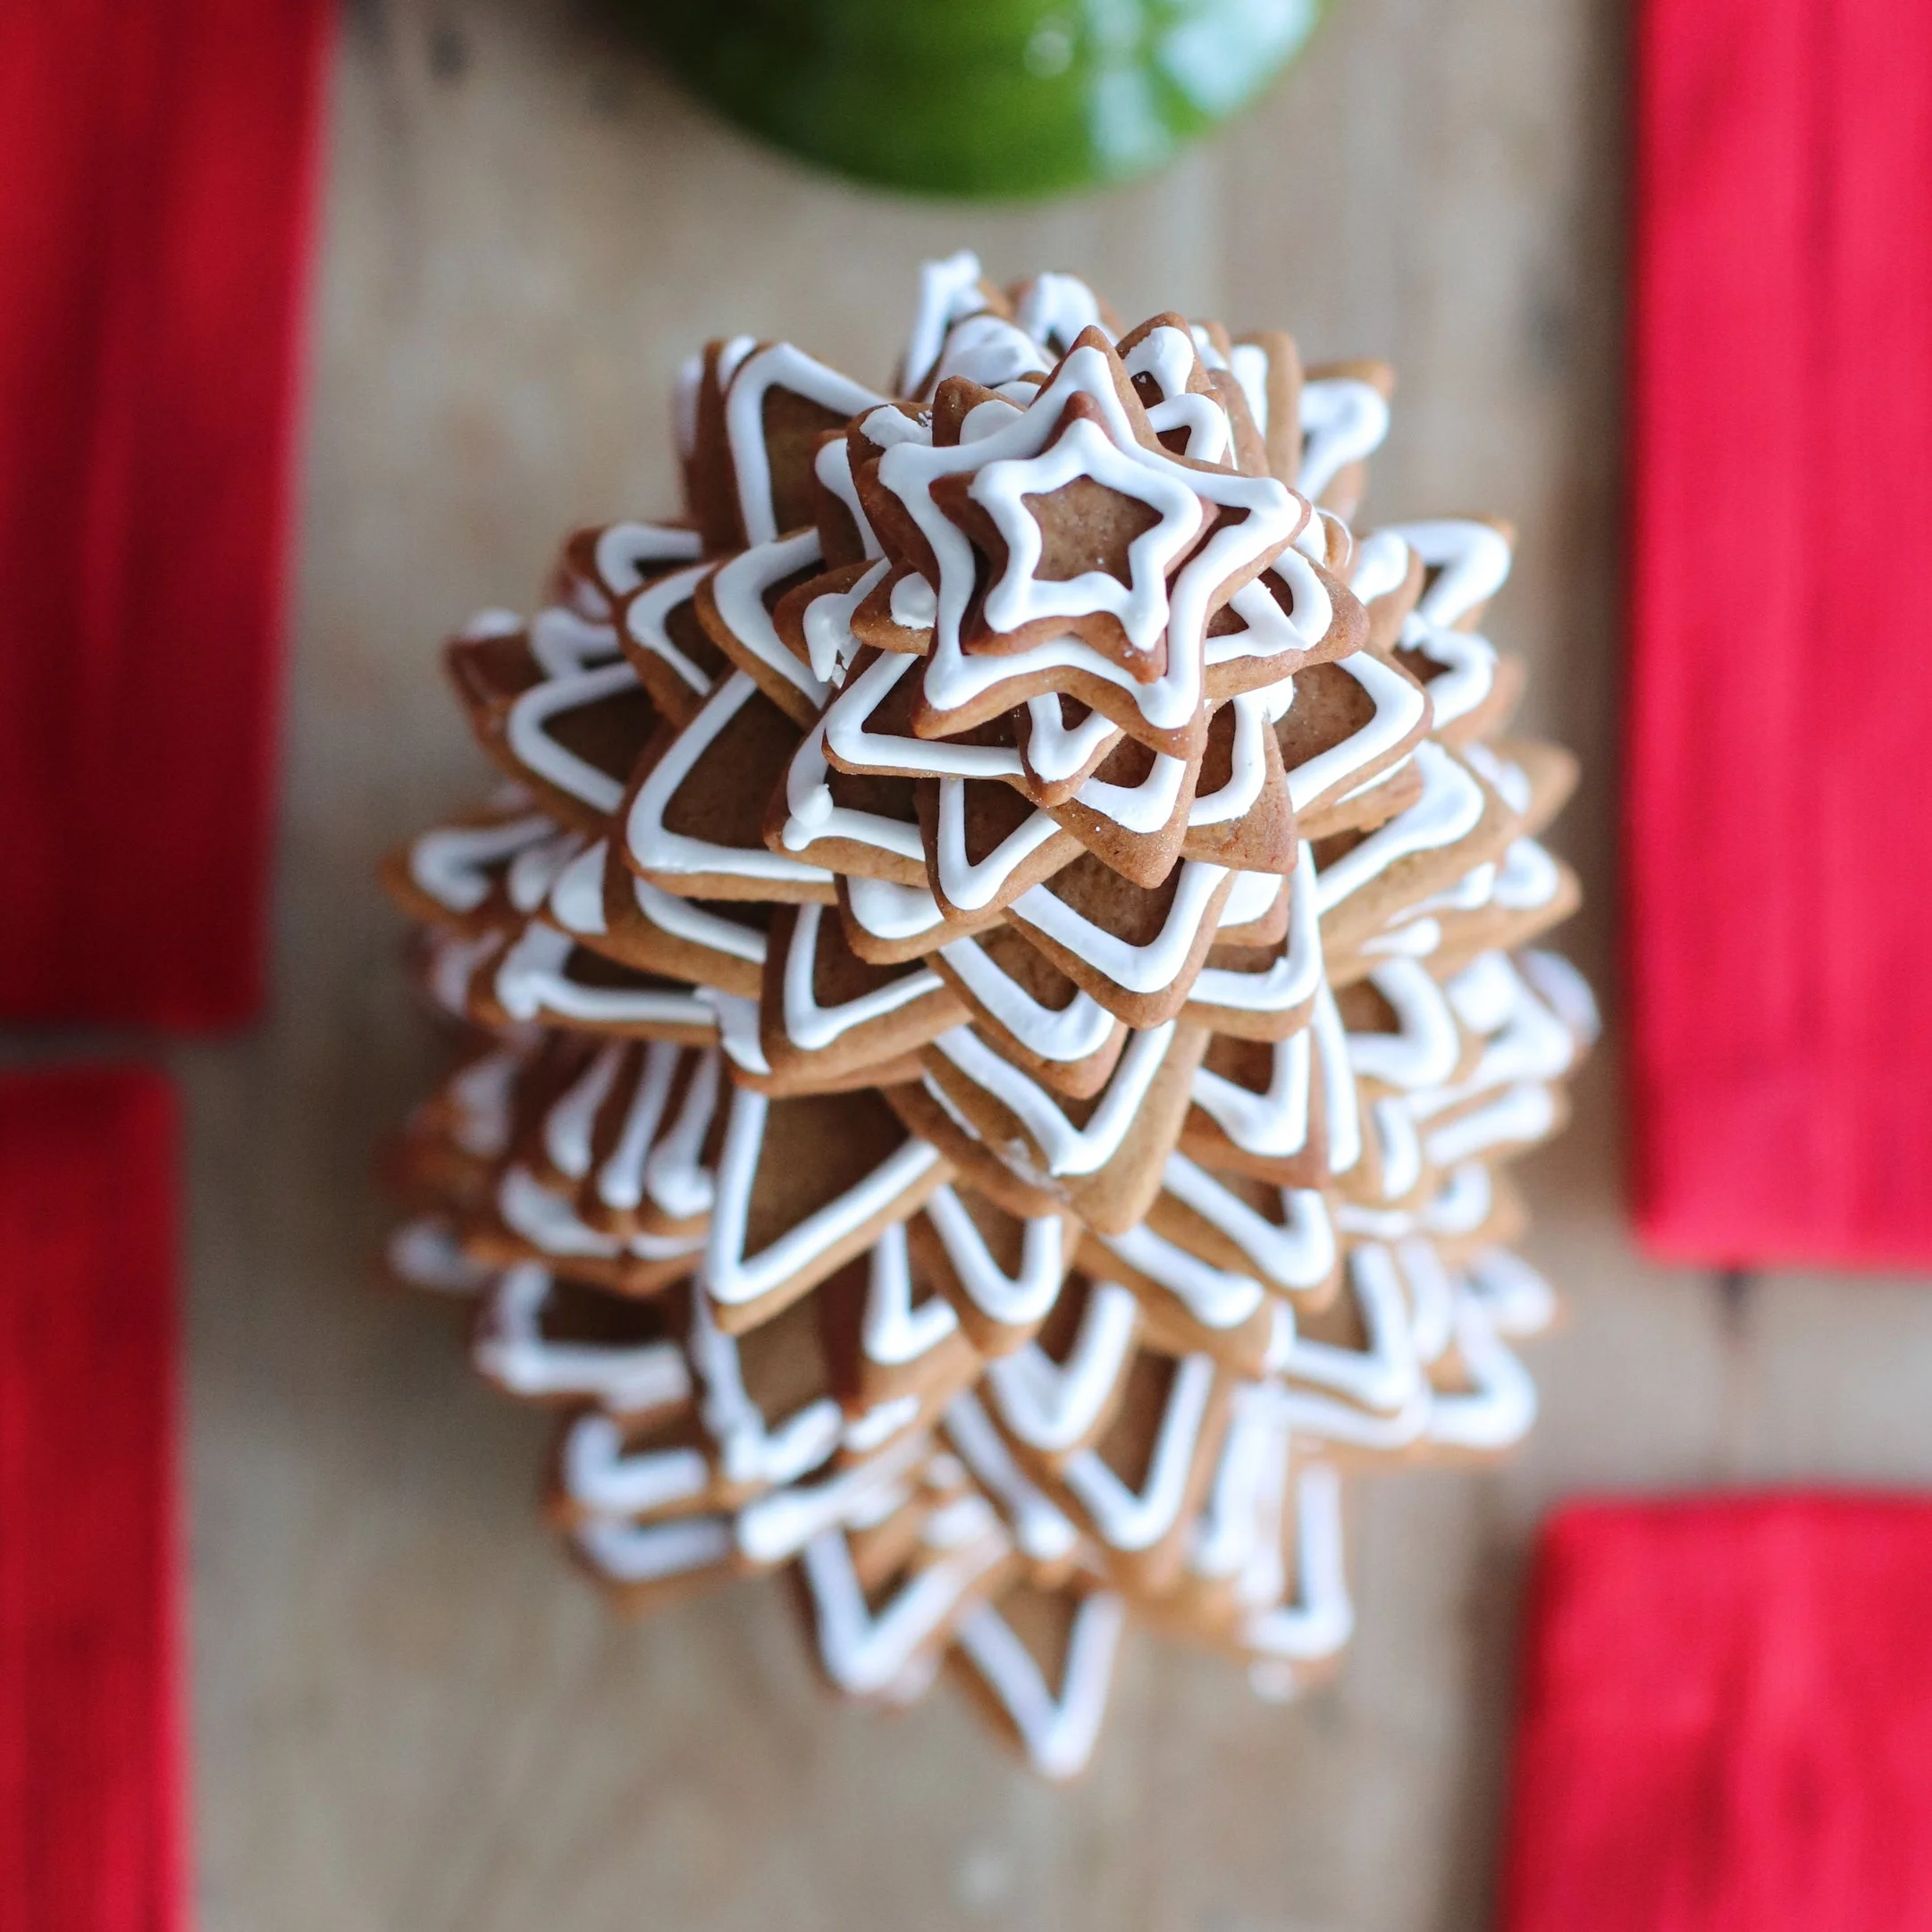
But thankfully, my mini gingerbread houses are small enough to support themselves with a soft and edible gingerbread. They don't need candy decorations either. I make two different house sizes: small ones (2 inches long), and mini ones (1½ inches long, and small enough to balance on a cup of coffee or a glass of milk!). I ordered my house cookie cutters here and here, but it's also possible to cut patterns out of paper stock and use them as templates for your rolled out dough (template work can be a bit tedious, so I recommend purchasing the cookie cutters if you're making more than one or two houses). The approximate measurements of the houses are below (click the photos to enlarge them).
I assemble and decorate my houses with royal icing (recipe below), but if you prefer an easier method, meringue powder (found here or at craft stores in the baking aisle) is a passable alternative. These cookies will not be very sweet on their own, so the royal icing is a necessary and crucial sweetener.
If you plan to make the mini "mug-hugger" houses with either a template or the cookie cutter, make sure the doors are 3/8" wide so they can sit on the rim of a mug. The door in the cookie cutter wasn't quite wide enough for this. Gingerbread becomes more difficult to cut at room temperature, so try to trim the doors immediately after they've finished baking.
Gingerbread Cookies
Adapted from Epicurious.com
Notes:
- In order to remain soft, these gingerbread cookies will either need to be kept in an airtight container, or packaged in cellophane bags (see my photo above).
- You can substitute butter for the shortening if you prefer, but the cookies won't be quite as tender.
- I use less ginger and fewer cloves because that's how I like my cookies, but if you like a spicy cookie, then double the spice quantities.
- If you measure the flour by volume (rather than weight), you may inadvertently add too much flour making the cookies dry. I'd start with a conservative amount of flour, and add as needed.
- 5½ tablespoons softened butter (2.75 ounces)
- ⅓ cup shortening (2.67 ounces)
- ½ cup light brown sugar (3.75 ounces)
- ½ cup molasses (not black strap) (6.15 ounces)
- 1 egg
- 2 tablespoons buttermilk
- 3 ¼ cups all purpose flour (14.6 ounces) - see tip on measuring flour here
- ½ teaspoon baking soda
- 1½ teaspoons cinnamon
- ¾ teaspoon ground ginger
- ½ teaspoon cloves
- ⅓ teaspoon kosher salt
Beat butter, shortening, and sugar, until light and fluffy. Add molasses and beat. Add egg and beat until combined. Combine dry ingredients (starting with 3 cups of flour). In three parts, add the dry ingredients to the butter/molasses mixture, beating until combined. Add additional flour as needed. Divide in two parts, wrap in plastic wrap, and refrigerate for a few hours or overnight.
Preheat oven to 350°F. Flour your counter well (because the dough is very soft), and roll one piece of dough to ¼" thickness. While rolling, periodically move and re-flour the dough to prevent sticking. Alternatively, roll it out on floured parchment paper or plastic wrap. Note that the dough warms up quickly, so either work quickly or refrigerate/freeze the dough for 10 minutes during the process to allow it to become firm again. Use cookie cutters (or templates) and a sharp knife to cut out shapes. Cut house doors to 3/8" wide. Place on a parchment lined baking sheet (see tip on parchment paper here), and refrigerate or freeze for 10 minutes to allow dough to become firm again (this ensures sharper edges). Because I live in a cold climate and my refrigerator and freezer are usually pretty full (the one downside of cooking a lot!), I place them outside on the porch. Bake in a 350°F preheated oven for 8-10 minutes. Re-cut house doors to 3/8" wide while still warm. Wait for gingerbread to cool completely before moving it to a rack. Repeat with remaining dough. Scraps can be re-rolled after refrigerating. Assemble houses with royal icing when ready.
Royal Icing
Notes:
- Separate egg while the egg is cold as the yolk is less likely to break.
- Because confectioners sugar absorbs water so easily, I always sift it first so that the resultant icing doesn't become lumpy. But a newly opened bag of confectioners sugar doesn't need to be sifted.
- For maximum fluffiness when beating egg whites, always make sure that your bowl and beaters are VERY clean.
- 1 egg white
- 2 cups confectioners sugar, sifted (8 ounces)
Beat egg white until soft peaks form. Slowly add confectioners sugar. Beat with an electric mixer until smooth and stiff. In order to achieve the correct consistency, add a few drops of water at a time. Remember that you want an icing stiff enough to support the walls. To test for consistency, use a knife to cut the icing; the icing shouldn't cave in on the line. Put your icing in a bag with an open tip and begin to decorate your roof and walls (the pieces are much easier to decorate before assembling). Let the icing on the walls dry completely before adding the roof, then apply icing to the top edges of the walls, and secure the roof. Keep royal icing well covered (with plastic wrap and a wet paper towel) between uses to prevent drying out.


