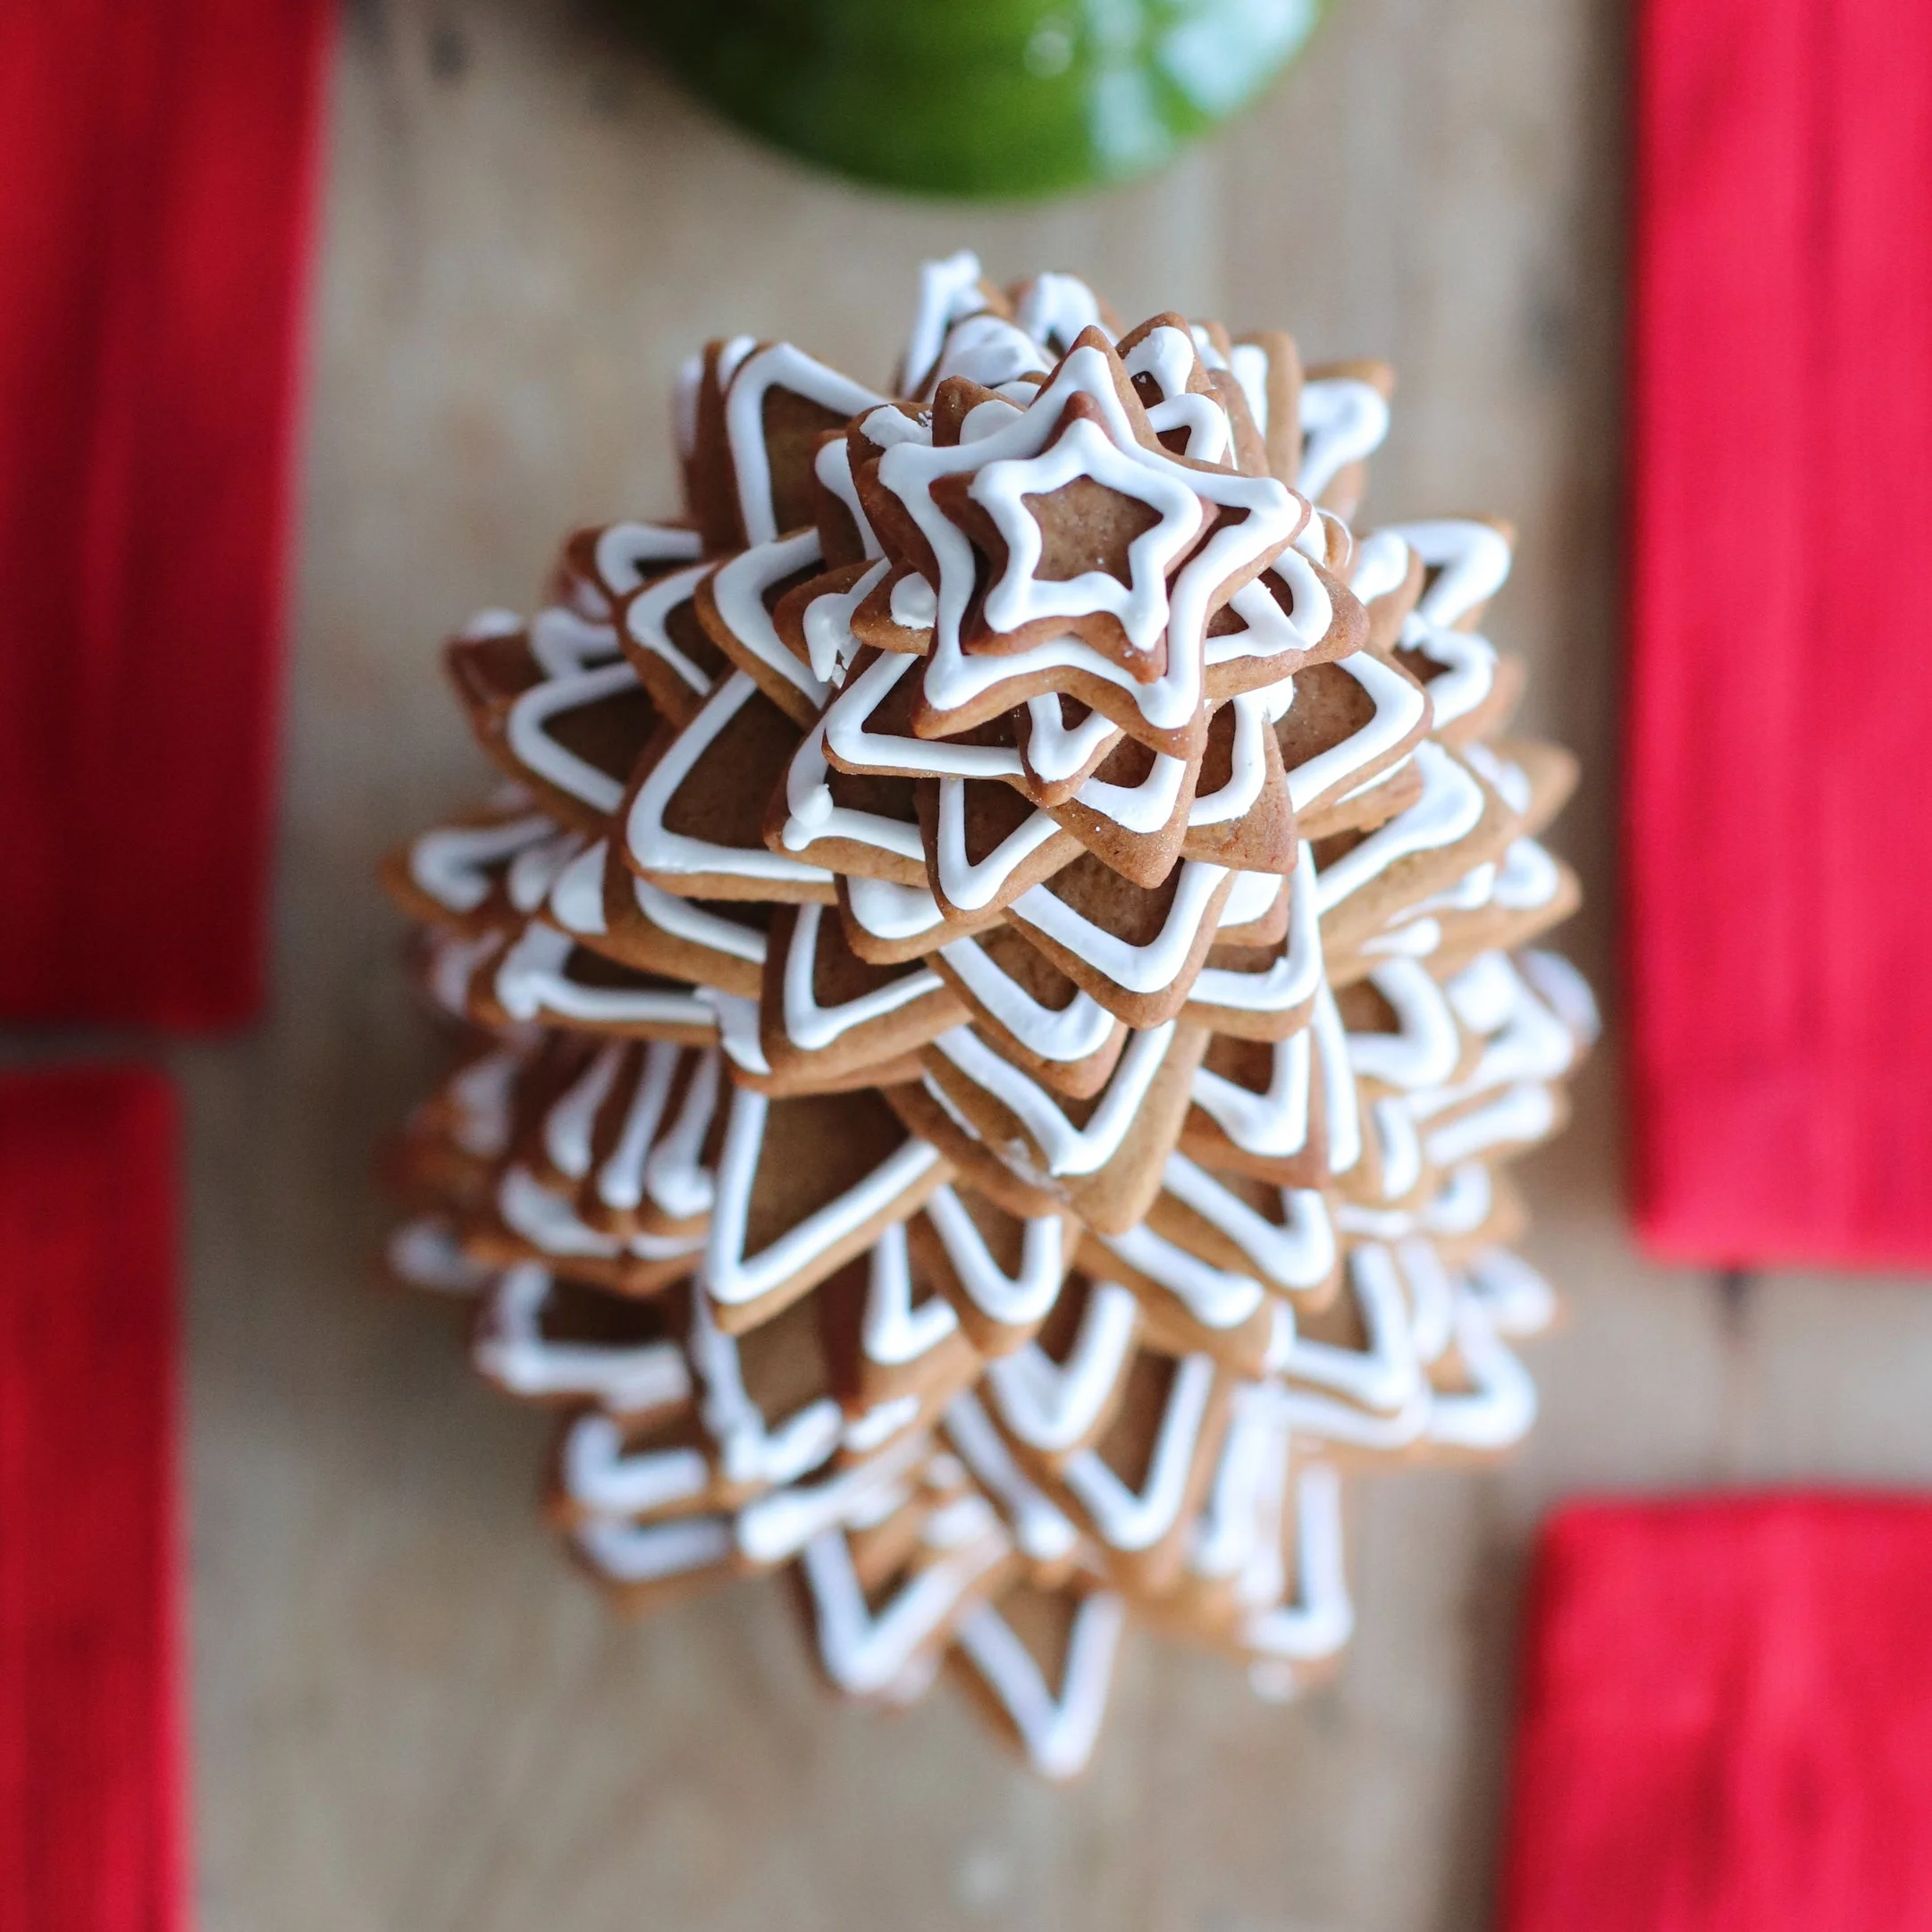
Cut Out Cookies
I don't remember exactly where I got the recipe for these cookies; all I know is that, twenty-five years ago, I copied it out of some magazine and I've been making them ever since. These cut out cookies contain less sugar than traditional sugar cookies, making them perfect for icing or dipping. The dough also includes cream cheese, which adds a special tenderness. When my boys were young, I always made them at Christmas time, Valentines Day, and Halloween, so they could decorate them with icing to look like Christmas trees, Santas, hearts, pumpkins, bats, ghosts, skeletons, etc... I now prefer to simply dip my cut out cookies in chocolate. The result is understated and delicious. In my opinion, they're best when the chocolate coat is a bit hard, so I keep them in the refrigerator until just before serving.
The chocolate coating is made with a bit of food-safe wax, which helps facilitate the process as well as lending the chocolate an extra shine. Over the years, I've significantly decreased the amount of wax I use, but you can use double the wax if you prefer a noticeable shine. And if you prefer to leave the wax out, then I recommend replacing the wax with a natural fat (i.e. leaf lard or tallow), but the chocolate will not shine. Personally, I go through enough tubes of chapstick that I'd feel hypocritical refusing to add wax to my food.
For these cookies, I always use symmetrical cookie cutters, because the chocolate dip is especially pretty when it ends at the line of symmetry. I also recommend dipping the same side of each cookie, so that they look more orderly when lined up on a platter.
Cut Out Cookies
2 sticks high quality butter - softened (8 ounces)
½ package cream cheese - softened (4 ounces)
1 cup granulated sugar (7.5 ounces)
1 egg yolk
½ teaspoon vanilla extract
2⅓ cups all purpose flour (10.5 ounces) - see note on accurately measuring flour here
¼ teaspoon kosher salt
Cream butter and cream cheese until light and fluffy. Add sugar. Beat until well incorporated. Beat in yolk, vanilla and salt. Gradually beat in flour, being careful not to mix too much. Wrap in plastic wrap and chill for 2 hours. If chilled longer, allow dough to warm for 15-20 minutes before rolling.
Preheat oven to 350°F. Flour counter (or parchment paper) and roll out dough (and flour your rolling pin to prevent sticking). Periodically move the dough and re-flour counter. Roll the dough until it's about ¼" thick. Dip cookie cutters into flour, then cut cookies into desired shapes. Place shapes on parchment-lined cookie sheets. Before baking, refrigerate cookies for 10 minutes so they will keep their sharp shapes. Bake for 10-12 minutes (until their corners are just beginning to brown). Cool completely before dipping.
Chocolate Dipping
I prefer using chocolate chips rather than chopped chocolate from a block as it results in a thicker chocolate coating, but either works beautifully.
8 ounces chocolate chips (semisweet or bittersweet depending on preference)
¼ ounce food safe wax (replace with ½ ounce tallow or lard if desired)
In a double boiler, but not touching simmering water, melt wax. Once melted, add chocolate chips. Stir occasionally; the water should be lightly simmering, NOT boiling. To prevent the chocolate from seizing, make sure no water gets into the melting chocolate. When the mixture is smooth, pour it into a small container that is large enough to fit the cookies for dipping (I use a deep oblong dish—see above picture). If you prefer to leave the chocolate in the top of the double boiler for dipping, then use twice as much chocolate and wax (or else the chocolate won't be deep enough for dipping). Half of each cookie should be coated in chocolate. Place cookies on parchment lined cookie sheet and refrigerate until chocolate hardens. Store in refrigerator.


